Bleed, Trim and Safe Area: How to Set Up Artwork Before Printing
Understand bleed, trim and safe area, calculate artwork size, position text and borders, handle crop marks and check a PDF before printing.
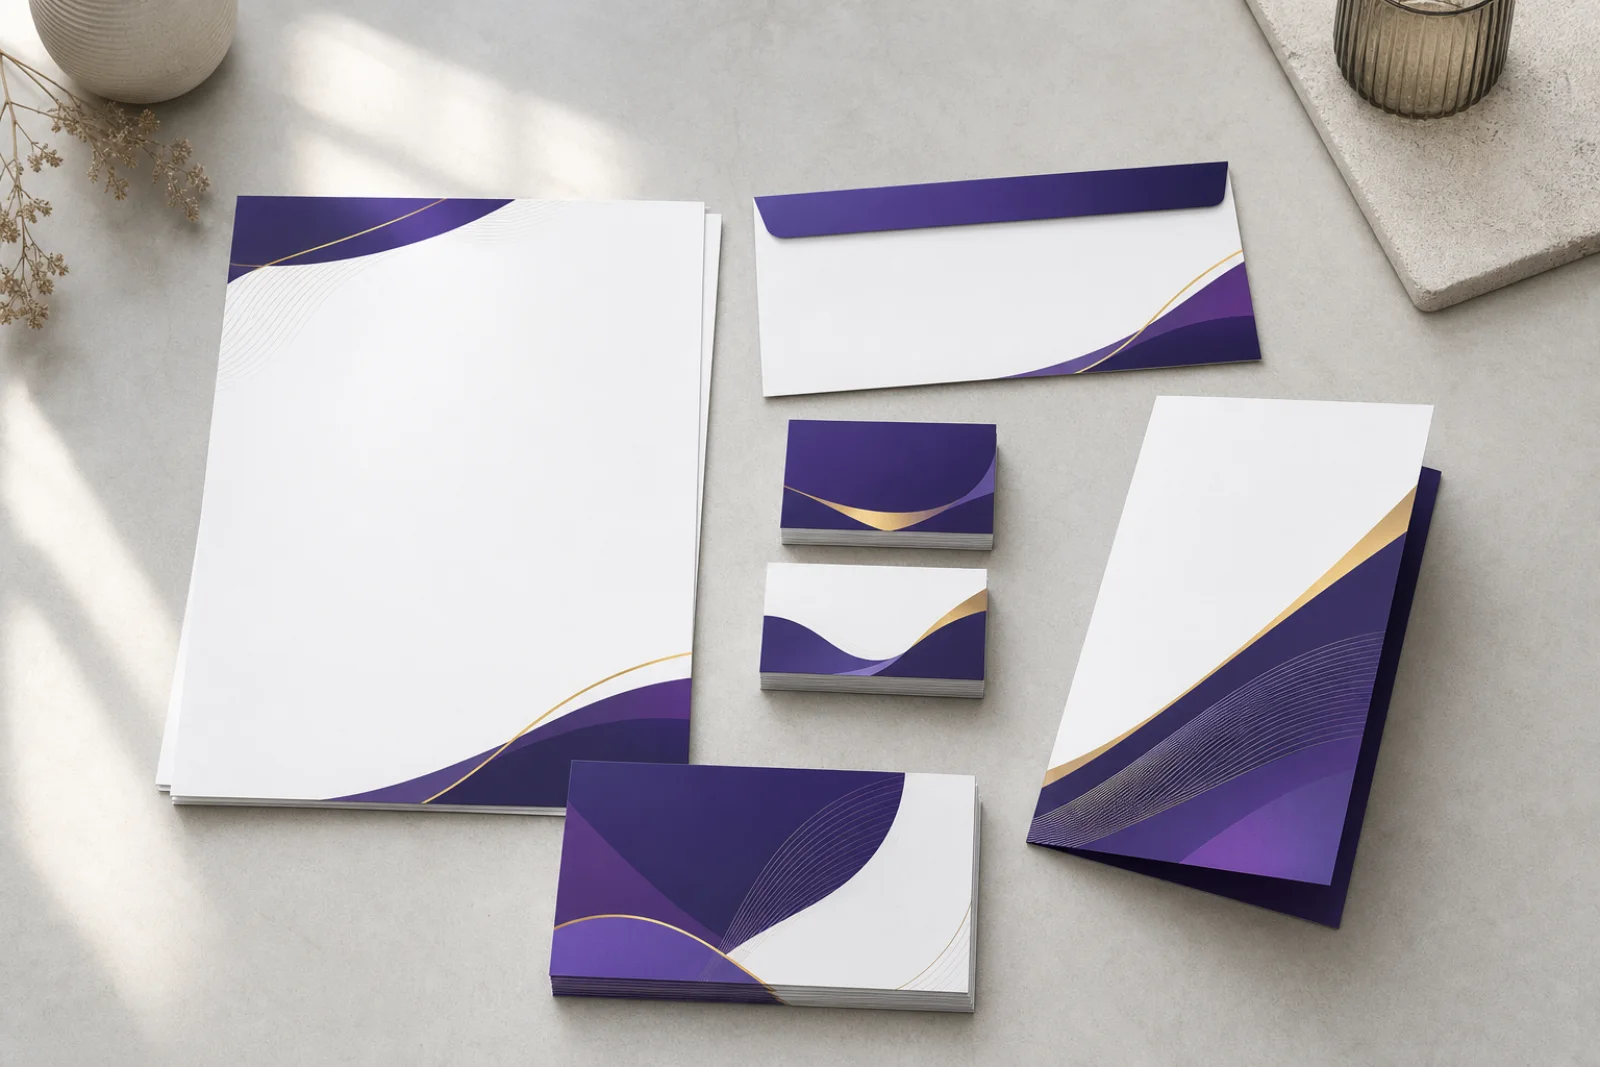
A business card, flyer or label can look correct on screen but still show a white edge or lose text after cutting.
The file needs to separate the finished edge, background extension and protected content zone clearly enough for the actual finishing process.
Trim is the intended finished edge. Bleed is background artwork extended beyond that edge so small cutting movement does not expose an unprinted line. The safe area is inside the trim and keeps important text, logos, QR codes and borders away from cutting risk. Ask the printer for the job-specific bleed and safe-area measurements before building or exporting the file.
What matters most
- Set the finished size first; do not treat the bleed size as the finished product.
- Extend edge-to-edge backgrounds through the full confirmed bleed area.
- Keep essential content inside the confirmed safe area, not merely inside trim.
- Add crop marks only when the printer's workflow asks for them.
- Reopen the exported PDF and inspect page size, edges and marks before sending it.
What do trim, bleed and safe area each control?
The trim line describes the intended finished edge and dimensions after cutting.
The bleed area sits outside trim. A photograph, colour panel or pattern that must reach the finished edge should continue through this area. Bleed does not make the finished item larger; it is removed during cutting.
The safe area sits inside trim. It is a layout boundary for information that must remain comfortably visible. A background can cross trim into bleed, while a phone number, logo or QR code should move in the opposite direction, farther inside.
- Bleed: outside trim, for background colour, photos and patterns meant to reach the edge.
- Trim: the intended finished cut boundary, not a place to align tiny text.
- Safe area: inside trim, for wording, logos, codes and content that must survive finishing.
How do you calculate the artwork page with bleed?
Start with the confirmed finished width and height. Add the required bleed twice to each dimension because it appears on both opposite edges: artwork width equals finished width plus left and right bleed; artwork height equals finished height plus top and bottom bleed.
Imagine a business card will finish at 90 × 54 mm and the printer confirms 3 mm bleed on every side. The supplied artwork boundary becomes 96 × 60 mm: 90 + 3 + 3 by 54 + 3 + 3. The card still finishes at 90 × 54 mm. This demonstrates the calculation only; it is not a universal Seri Jadi specification.
Do not enlarge the whole design to create bleed. That can change text size, margins and alignment. Extend only the edge-reaching background or image while keeping the trim and safe-area guides fixed.
Where should text, borders and QR codes sit?
Put names, phone numbers, prices and other essential wording inside the confirmed safe boundary. Apply the same rule to logos and codes.
Thin borders make small cutting movement more visible. Move the border inward, make the design deliberately edge-to-edge, or ask whether it suits the selected finishing method.
For a QR code, protect the complete code and its clear surrounding space. Do not let decorative artwork, trim or a tight border crowd that area. Test the final printed-size proof with the devices and scanning conditions relevant to its use.
Are crop marks the same as bleed?
No. Crop marks indicate a proposed cutting position outside the artwork. Bleed is printable image or colour extending beyond that position. A file can show crop marks and still have no useful bleed behind them.
Ask whether the printer wants marks, which PDF preset to use and whether the production system adds its own. Marks must stay outside trim and clear of live artwork.
A focused preflight before you send the PDF
A PDF preview can confirm boundaries, but the buyer must still verify wording, numbers and version. The printer confirms job-specific production and finishing requirements.
- Confirm the finished size, unit and page orientation.
- Confirm the required bleed and safe-area measurements for that product.
- View the file with trim and bleed guides visible.
- Check that every edge-to-edge background reaches the bleed boundary.
- Check that text, logos, codes and borders remain inside the safe boundary.
- Export using the printer's requested preset and mark settings.
- Reopen the PDF, check its physical page size and inspect every edge at high zoom.
- Name the approved version clearly so an older file cannot be mistaken for it.
Copy-and-send artwork brief
Send the practical details below and ask the printer to confirm bleed, safe area, PDF preset and crop-mark requirements before production.
- Product and finished size: item, width × height and unit.
- Quantity and material or finish, if known.
- Edge-to-edge artwork: yes, no or selected sides.
- Supplied file and scale: PDF, AI or other; 100% or agreed scale.
- Essential content near an edge: describe it or state none.
- Required date and postcode, to be confirmed per job.
Frequently asked questions
Is 3 mm bleed always enough?
No. Bleed depends on the product, printer and finishing method. A value used for one card or leaflet should not be copied automatically to a label, booklet, box or large-format item. Confirm the specification for the quoted job.
Should white backgrounds extend into bleed?
A plain unprinted white background does not create a white hairline problem, but any colour, photo, texture or shape intended to reach the edge should extend through the confirmed bleed area. Ask when the edge treatment is unclear.
Can the printer fix missing bleed after receiving the file?
Sometimes an edge can be extended, mirrored or adjusted, but the result and artwork scope depend on the file. Do not assume an automatic fix is possible. Send the editable source and ask what correction or redesign is required before approval.
Sources consulted
Sources support the general guidance; the final choice still depends on the actual job.
- Google Autocomplete Malaysia: bleed trim safe area
- Set printer's marks — Adobe InDesign User Guide
- Printer's marks and bleeds — Adobe Illustrator User Guide
- What Does Print-Ready Artwork Mean? — Seri Jadi
- Graphic Design and Print Artwork in Sungai Petani — Seri Jadi
- Printing Services Sungai Petani — Seri Jadi
Send Seri Jadi the item, finished dimensions, quantity, material or finish if known, artwork file and scale, edge-to-edge requirement, essential content near an edge, required date and postcode. Scope, revisions, proof route, price, timing and production specifications are confirmed per job.
WhatsApp +60 10-451 8088