Signage Installation Checklist: Prepare the Site and Handover
Confirm artwork, mounting position, site access, responsibilities and handover checks before a signage installation is booked.
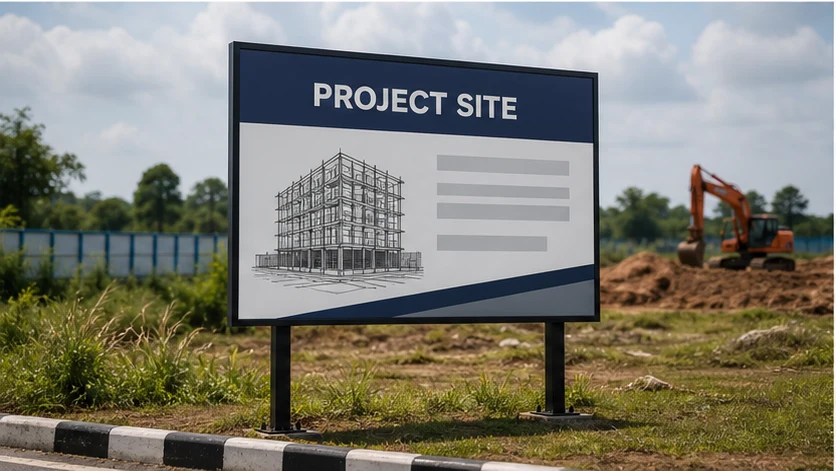
A sign may be ready for production while the site is not ready for installation. Locked access, an unconfirmed mounting area, parked vehicles, hidden cables or unclear responsibilities can change what the installer can safely do on the day.
Before signage installation, confirm the approved artwork and finished dimensions, exact mounting position, real surface and access route, site contact, working restrictions, power responsibility where relevant, removal or making-good work, and the handover checks. Put each responsibility in writing. The installer must still assess the actual site and use an appropriate method for the sign, structure and conditions.
What matters most
- Match the approved proof to the quoted construction.
- Show the whole access route, not only the wall.
- Name who handles power, permits and site clearance.
- Record exclusions before the installation date.
- Inspect the finished sign from the agreed viewing points.
What must match before installation is booked?
Keep three documents together: the approved artwork, the quotation or scope, and the site record. The artwork should show the final wording, logo arrangement, colours and dimensions. The scope should describe the sign face, letters or panel, backing, lighting if any, mounting, installation and exclusions.
The site record should identify the exact elevation or room, proposed position, surface, approximate height, access route and known restrictions. If one document says “lightbox” while another shows individual illuminated letters, reconcile the description. Mark the accepted proof and scope with a date or revision reference so everyone uses the same version.
Which site photos prevent avoidable confusion?
Use a short photo set that answers different questions. Start with a straight-on view of the whole elevation, then add left and right approach views, a close view of the mounting area, and a side view showing depth, edges and nearby obstructions.
Photograph the access path from the loading or parking point to the work area. Include gates, steps, overhead obstructions and the space directly below the sign. For an indoor sign, show the route and final wall in context.
Photos support planning; they do not prove the substrate, structural capacity, concealed services or final fixing dimensions. Do not climb or enter a restricted area merely to improve a quotation photo. Label anything estimated and let the responsible party decide what must be inspected on site.
Who is responsible for access, power and approvals?
Write a simple responsibility list. Name the site contact who can open the premises, confirm the mounting position and answer questions. Record building-management procedures, working-hour restrictions, security registration, loading rules and any requirement to protect floors, counters or neighbouring areas.
For an illuminated sign, state who provides and verifies the power point, cable route, isolation and final electrical connection. The quotation should state what is included, what another qualified party handles and what remains subject to site confirmation.
The customer or responsible project party should identify landlord, building-management or authority requirements that apply to the premises.
A practical readiness check: green, amber or stop
Use a three-state review one or two working discussions before the planned date.
The colour labels are a coordination method, not a safety certification. Resolve every “stop” item with the responsible person. Decide whether each “amber” item needs written confirmation before the installer travels or can be checked during a separately agreed site visit.
- Green — confirmed and documented; for example, the final position is marked on an agreed photo.
- Amber — known but awaiting one answer; for example, the site contact will confirm loading access.
- Stop — installation should not proceed on assumption; for example, the wall type or power responsibility is unknown.
Worked example: a lightbox above a shop entrance
Suppose a proposed lightbox will sit above an entrance in a shared commercial row. The artwork and overall size are approved, but the access lane is used for parking and the nearest visible cable is not confirmed for the sign.
A useful installation note would say: front elevation and exact position marked on photo; finished size and projection stated in the scope; building contact named; access area to be cleared at the agreed time; existing sign removal listed separately; power point, cable route and final connection responsibility to be confirmed before booking; wall and fixing method subject to site assessment.
This is an explanatory scenario, not a Seri Jadi customer or completed job. It shows why “sign ready” and “site ready” are separate decisions.
What should the handover check cover?
Inspect the sign against the approved proof and written scope before treating the work as complete. From the agreed viewing positions, check the wording, logo version, orientation, visible alignment and intended appearance. Close up, record the condition of the sign face, edges, letters and surrounding area.
For a lit sign, the responsible parties should verify the agreed lighting result and electrical scope. Record any snag with a photo, location and expected follow-up rather than a vague message such as “please fix the sign”.
Copy-and-send installation readiness brief
Send the site record through Seri Jadi’s signboard and signage page or contact page. The physical shop is in Sungai Petani. Final construction, fixing, access equipment, installation, electrical work, price, timing and fulfilment are confirmed for the individual job.
- Site address and contact.
- Exact sign position marked on photo: yes or no.
- Approved artwork revision and date.
- Quoted finished size and construction.
- Existing sign removal or making good: included, excluded or to confirm.
- Mounting surface and inspection state; installation height and access route.
- Loading, parking, security and working restrictions.
- Power point, cable route and electrical responsibility, if relevant.
- Landlord, management or authority requirements; area-clearance responsibility and agreed time.
- Handover contact, viewing points and items awaiting written confirmation.
Frequently asked questions
Can installation be confirmed from photos alone?
Photos can support planning and quotation, but they may not confirm the substrate, concealed services, structural capacity, safe access or final fixing method. The required inspection depends on the sign and actual site.
Should sign removal and disposal be assumed?
No. Ask the quotation to state whether removal, disposal, storage and making good are included. Existing frames, wiring and surfaces should not be assumed reusable without assessment.
What should I photograph after installation?
Keep one straight-on view, normal approach views, a close condition record and any agreed illuminated view. These photos support handover; they do not replace technical testing or approvals required for the job.
References and further reading
These links provide background and related service information. Confirm the specification for your actual job.
Send the site address, marked position, approved artwork revision, finished dimensions, construction, access details, responsibilities and unresolved items through Seri Jadi’s signage or contact page for a job-specific quotation.
WhatsApp +60 10-451 8088