Eyelets, Pole Pockets or Hemmed Edges: Choosing Banner Finishing
Compare eyelets, pole pockets and hemmed edges, then prepare a clearer fixing brief before requesting a banner printing quote.
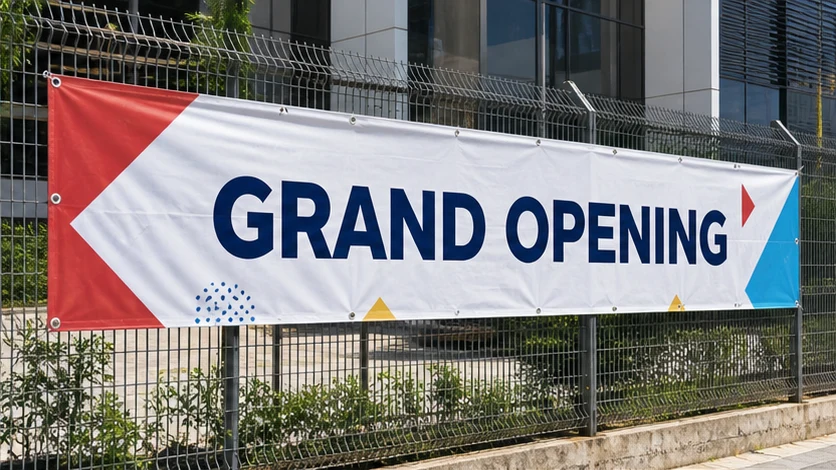
A banner artwork file may look complete while the physical display brief is still missing one important decision: how the banner will be held. A shopfront rail, fence, wall frame and freestanding support do not use the edge in the same way.
Choose banner finishing from the display method, fixing points and required edge clearance—not from appearance alone. Eyelets provide defined tie points, a pole pocket creates a sleeve for a compatible pole or bar, and a hem folds and secures an edge. Send a site photo and fixing sketch; the printer must confirm the material, finishing and spacing for the actual job.
What matters most
- Describe what will support the banner before choosing its edge finish.
- Mark every intended fixing point on a photo or simple sketch.
- Keep important text and logos away from pockets, folds and hardware.
- Confirm finished size separately from any allowance needed for finishing.
- Treat outdoor exposure, access and installation as job-specific checks.
What does banner finishing mean?
Finishing is the physical treatment that prepares a printed banner to hang, stand or fit another support. It can affect the edges, corners and usable artwork area. The correct instruction therefore includes more than finished width and height.
A useful brief says where the banner will go, what it will attach to, whether a pole or frame already exists, and which edges must remain unobstructed. “Add holes” is too vague because it does not identify the fixing method, count, position or edge clearance.
When do eyelets make sense?
Eyelets are reinforced openings used as defined tie or fixing points. They may suit a banner that will be tied to compatible points on a fence, rail or frame, but the printer still needs the intended position and display conditions.
Do not assume that more eyelets automatically solve every installation problem. The appropriate count and spacing depend on the banner size, material, support, exposure and fixing method. Send a straight-on photo and mark the available points rather than asking the printer to guess from the artwork.
Keep names, dates, phone numbers and small logos clear of the eyelet zone. Review the proof at finished proportion and check every corner as well as the centre, because a fixing point can collide with text that looked safe on a screen.
What is a pole pocket?
A pole pocket is a sleeve formed along an edge so a compatible pole or bar can pass through it. It can create a supported edge for certain hanging or display arrangements, provided the pole, pocket direction and dimensions are confirmed together.
State whether the pocket is needed at the top, bottom or another edge. Also send the pole or bar dimensions if one already exists. Do not copy a pocket size from an unrelated template; the allowance and usable artwork area must match the actual support and production method.
Essential content needs to sit outside the pocket area. Ask the proof to show the finished boundary, pocket line and visible artwork area so the message does not disappear around the bar.
What does a hem change?
A hem is a folded and secured edge treatment. It changes how the edge is constructed and may be combined with another finishing method when appropriate. It is not a substitute for describing how the banner will be fixed.
If the display fits a frame or a tightly measured opening, confirm whether the dimensions refer to the finished visible banner or an earlier artwork size. Width, height, edge treatment and any required allowance should be written separately so the finished piece is not inferred from one unlabeled number.
Decision rule: start with the support
This method avoids choosing eyelets, pockets or hems as isolated menu items. It connects the finish to the structure that must support the banner.
- Photograph the entire display area and nearby fixing points.
- Record the proposed finished width x height with units.
- Name the support: fence, rail, frame, pole, stand or another structure.
- Mark which edges and points can actually be used.
- Ask the printer to confirm the suitable material, finish and spacing.
- Review a dimensioned proof showing finishing zones and visible content.
Worked example: a temporary fence banner
Suppose the usable fence area is approximately 240 cm wide x 90 cm high. A wide photo shows vertical posts near both ends, while a gate section must remain clear. The buyer wants one temporary outdoor banner and has artwork with a headline, date and phone number.
A useful brief would say: “Proposed finished banner: 240 cm wide x 90 cm high, one piece. Temporary outdoor fence display. Usable fixing points are marked on the attached photo; keep the gate clear. Please confirm suitable material, edge finish and fixing-point spacing. Show all finishing zones on the proof. Artwork is a draft; required date and postcode are included for confirmation.”
This is an explanatory example, not a real customer job or installation specification. The actual finish must be quoted against the site, banner and support.
Copy-and-send finishing brief
Banner use and location; proposed finished width x height and unit; quantity; indoor or outdoor use; temporary use or intended reuse; and the support type: fence, rail, frame, pole, stand or other.
Add existing pole or frame dimensions; whether fixing points are marked on a photo; the preferred finish to discuss; edges that must remain clear; artwork status; required date; display or fulfilment postcode; and whether wide and close photos are attached.
Send the brief through Seri Jadi’s banner and bunting printing page or contact page. Price, material, finish, installation, artwork scope, completion date and fulfilment are confirmed for the individual job.
Frequently asked questions
Are eyelets always the best finish for an outdoor banner?
No single finish suits every outdoor display. The banner size, support, exposure, available fixing points and installation method all matter. Send a site photo and ask the printer to confirm the finish and spacing for that job.
Does a pole pocket reduce the visible artwork area?
It can occupy part of an edge, so essential content should stay clear. Ask for a proof that marks the pocket line, finished boundary and visible artwork area.
What should I send for a banner-finishing quote?
Send the finished width and height, quantity, indoor or outdoor use, support type, photos, marked fixing points, artwork status, required date and postcode. Include pole or frame dimensions when an existing support must be used.
Sources consulted
Sources support the general guidance; the final choice still depends on the actual job.
Send Seri Jadi the finished size, quantity, intended support, marked fixing points, photos, artwork status, required date and postcode. Material, finishing, installation, price, artwork scope, completion date and fulfilment are confirmed for the individual job.
WhatsApp +60 10-451 8088